Using wig tape for the first time can feel fiddly. The strips are small, the lace needs to sit in exactly the right place, and once the tape touches your skin, repositioning can be difficult.
The easiest way to get started is to check your wig's fit first, prepare your hairline, and work in small sections rather than trying to secure the whole front at once. This guide walks you through seven practical steps for applying wig tape to a lace front wig, along with tips for avoiding common mistakes and removing it gently.
Before you begin: Wig tape products vary. Some are designed to attach to the skin first, while others are intended to be placed on the underside of the lace. Follow the instructions supplied with your particular tape.
What You Need Before Applying Wig Tape
Gather everything before you start. Having your tools within reach makes it easier to position the lace carefully without rushing.
A lace front wig and wig tape designed for that type of application
A mirror with good lighting
Hair clips to keep strands away from the hairline
Small scissors, if your tape needs cutting
A clean, soft cloth or cotton pad
A tape-compatible remover for taking the wig off
You may also use a scalp protector if it is compatible with your tape. It is optional, and it must be allowed to dry fully before the tape is applied.
How to Use Wig Tape in 7 Steps
STEP 1
Check the Wig's Fit and Position
Put the wig on without tape first. Adjust the cap and straps until it sits comfortably and the hairline looks natural. Check the front, temples and ear tabs in the mirror.
Make sure the wig is not being pulled forward or sitting unevenly. Tape can help hold a correctly fitted wig in place, but it will not fix a cap that is too large or incorrectly positioned.
Beginner tip: Take a photo of the position you like, or make a small temporary mark on your skin with a skin-safe cosmetic pencil. This gives you a reference when you put the wig on again.
STEP 2
Prepare Your Hairline
Clean the area where the tape will sit and let it dry completely. Oil, moisturiser, makeup, sweat and leftover styling products can interfere with adhesion.
Keep natural hair and baby hairs away from the planned tape area.
Do not apply tape over broken, inflamed or irritated skin.
Use skin-preparation products only if the tape manufacturer recommends them.
Avoid harsh scrubbing or using strong solvents on your hairline.
If you have sensitive skin, check the product directions for patch-testing advice before using the tape. Do not proceed if the test causes irritation.
STEP 3
Cut and Position the Wig Tape
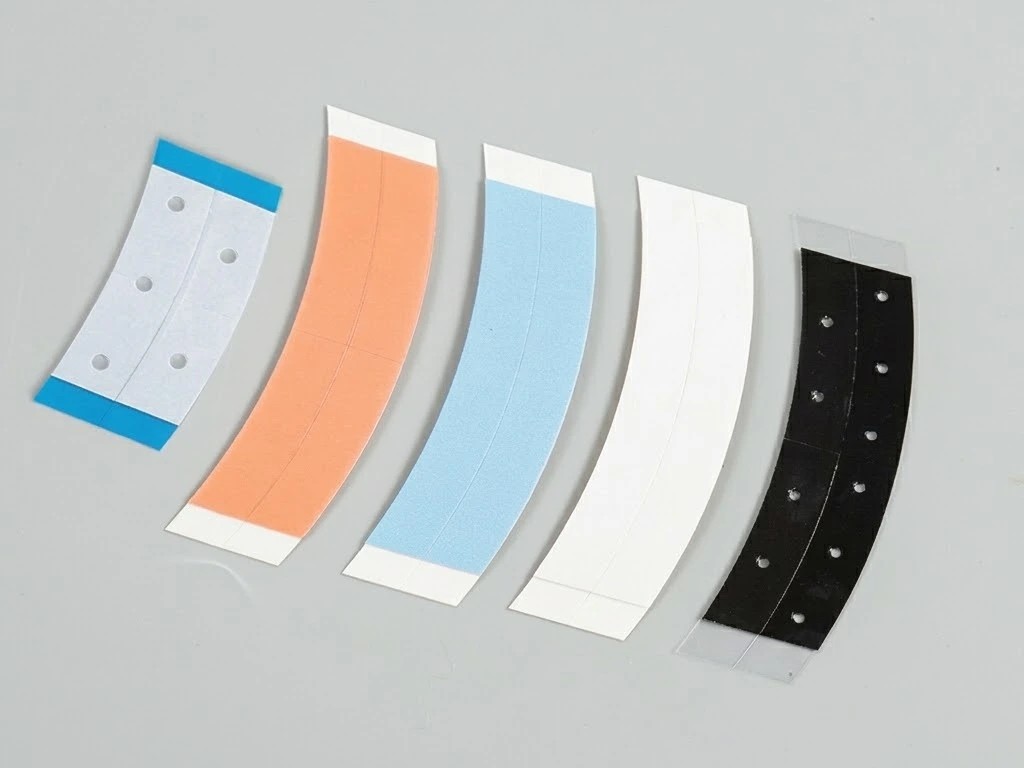
If you are using tape from a roll, cut it into manageable strips that follow the shape of the area you want to secure. Pre-cut strips can be easier for beginners because they require less handling.
Start with only the sections that need support, such as the centre front or the temples. You can add more coverage later if your tape instructions allow it.
Depending on the product, you may attach the tape to the skin first or place it on the underside of the wig's lace. Keep the protective liner on the exposed side until you are ready to attach the wig.
Important: Do not let tape touch loose wig hair, and do not stretch the lace to make it reach the tape.
STEP 4
Attach the Lace Carefully
Once the tape is positioned according to its instructions, line the wig up with the position you checked in Step 1.
Work from the centre front towards one side, then the other.
Lower the lace gently rather than dropping the whole front onto the tape at once.
Keep the lace flat and avoid pulling it tightly against your skin.
When the placement looks right, press the lace against the tape using gentle, even pressure.
Follow the product's recommended pressing time. There is no single timing that applies to every wig tape, so avoid assuming that a longer press or extra heat will always improve the hold.
STEP 5
Check the Temples and Hairline
Look at the wig from the front and both sides. The lace should lie flat without obvious folds, trapped hairs or uncomfortable tension.
If a section is misplaced, do not pull hard at the lace to correct it. Stop and use the appropriate remover if the tape has already bonded. Once the placement is comfortable, style the hair as desired without tugging on the attached edge.
STEP 6
Give the Tape Time to Set
Some tapes need a short setting period before you move or style the wig. Follow the timing and wear guidance on the packaging.
For your first application, avoid testing the hold by repeatedly lifting the lace. Do not assume that wig tape is waterproof or suitable for extended wear unless the product specifically states this.
STEP 7
Check Comfort Before Going About Your Day
The wig should feel secure without pinching, pulling or causing pain. Make sure the cap is not too tight and that no natural hairs are caught in the tape.
If the wig feels uncomfortable, the skin starts to burn or itch, or redness develops, remove it safely and stop using the product. A stronger hold is not worth irritating your skin.
How to Remove Wig Tape Safely
Removing the wig gently matters just as much as applying it properly. Pulling lace away while the tape is still bonded can damage the lace, irritate your skin and tug on natural hair.
Keep the lace supported. Move loose hair away from the taped area.
Use a compatible remover. Apply it to the taped edge according to the product instructions.
Wait for the tape to release. Give the remover time to work rather than pulling at the lace.
Lift slowly. If you feel resistance, stop and apply more remover as directed.
Clean the residue. Remove remaining tape from your skin and wig base using suitable products, then let the lace dry before storing the wig.
Do not force the wig off, and do not use an unapproved solvent on your skin or lace. For a more detailed comparison of attachment methods, read our guide to wig tape vs wig adhesive.
Explore our premium European hair collection for a superior wearing experience.
5 Common Wig Tape Mistakes to Avoid
Mistake
What to do instead
Applying tape to damp or oily skin
Clean the area gently and let it dry fully first.
Placing the wig before checking the fit
Adjust the cap and hairline before exposing the adhesive.
Using too much tape straight away
Start with the areas that need support and follow the product directions.
Allowing hair to get caught in the tape
Clip loose strands and baby hairs out of the way.
Pulling the wig off without releasing the tape
Use a compatible remover and lift only when the bond has released.
Is Wig Tape Suitable for Every Wig?
No. Wig tape is most commonly used to secure lace front wigs or other wig bases designed for tape attachment. The right method depends on the cap construction, the tape instructions and your skin.
If your wig is designed to be worn without glue or tape, you may prefer its adjustable straps, an elastic band or a wig grip. If you are shopping for a new style, you can browse our wig collection and consider the cap design before choosing how to secure it.
Choose a Wig That Feels Right for You
Not every wig needs tape. The best starting point is a comfortable fit, a cap that suits your needs and an attachment method you feel confident using.
Check your wig's fit, clean and dry the attachment area, then place the tape according to its instructions. Align the lace before pressing it down, and use a compatible remover when taking the wig off.
2. Do you put wig tape on your skin or on the lace?
It depends on the tape. Some products are designed to be applied to the skin first, while others are intended for the underside of the lace. Follow the instructions for your specific product.
3. How many strips of wig tape should I use?
There is no fixed number for every wig. The amount depends on the tape, the wig's construction and the areas that need support. Start with the recommended placement on the product instructions rather than adding extra strips automatically.
4. Can beginners apply wig tape at home?
Many people can learn to apply wig tape at home by taking their time and following the instructions carefully. Practise positioning the wig before exposing the adhesive, and consider professional help if you are unsure about the lace or cap construction.
5. How long does wig tape last?
Wear time varies by product, skin condition, perspiration and daily activity. Check the manufacturer's stated wear time and removal guidance. Do not extend wear beyond the instructions or keep wearing tape if your skin becomes irritated.
6. Can I sleep in a wig secured with tape?
Do not assume every wig tape is suitable for overnight wear. Follow the tape manufacturer's guidance. Removing your wig before sleeping may also help reduce friction and make regular scalp and wig care easier.
7. How do I remove wig tape without damaging my lace?
Use a remover compatible with the tape and wig base. Allow it to loosen the bond, then lift the lace slowly. Never pull the wig off while the tape is still firmly attached.
8. What should I do if wig tape irritates my skin?
Stop wearing the tape and remove it gently using the recommended remover. Do not apply it to broken or inflamed skin. If irritation persists or you develop swelling or blistering, seek advice from a healthcare professional.
This guide provides general wig-application information. Always follow the instructions supplied with your wig tape and remover.
About Lisa
15 years of experience in the wig industry
Extensive experience in human hair wigs, wig construction, fit, hair quality and styling. Dedicated to helping women find natural-looking hair that feels comfortable and truly suits them.
HOW TO WASH YOUR HUMAN HAIR WIG
Keep your wig soft, smooth and beautiful with the right care routine.A gentle step-by-step guide to cleaning and caring for vour human hair wig.
WHAT YOU’LL NEED
...
Discover how to choose the right hair topper for thinning hair, from base size and secure attachment to natural hairlines, colour matching and everyday care.
Using wig tape for the first time can feel fiddly. The strips are small, the lace needs to sit in exactly the right place, and once the tape touches your skin, repositioning can be difficult.
...
European Remy human hair is human hair described as originating from Europe, with the strands arranged so their cuticles face the same direction. The term combines two distinct descriptions: European refers to the stated...
What Is a Human Hair Wig?
Image source:European Human Hair Wig-Teagan wig
A human hair wig is made from real human hair, giving it the natural movement, texture and light reflection...
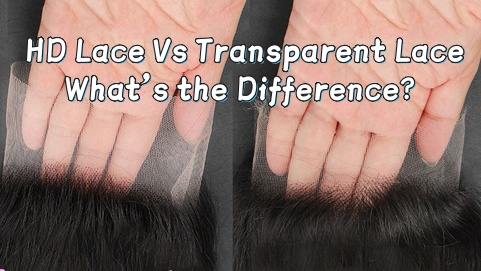
If you're shopping for a womens wig, you've probably seen HD lace and transparent lace listed as two different options. They can look almost identical in a product photo, which makes the choice a little confusing.
...
If you’ve been scrolling through dozens of tabs trying to figure out where to buy a decent piece of alternative hair, I get it. It’s overwhelming. Between dodgy overseas websites, glossy social media...
A beautiful wig should never look like you’re wearing a wig. The right colour, texture, density and fit can make all the difference to how natural and confident you feel. If you’re wondering how to choose a European huma...
WIG GUIDE
Choosing between a glueless wig and an lace glue for wigs comes down to more than how the wig stays on. Comfort, security, hairline appearance and your everyday routine all play a part.
If you prefer a wi...
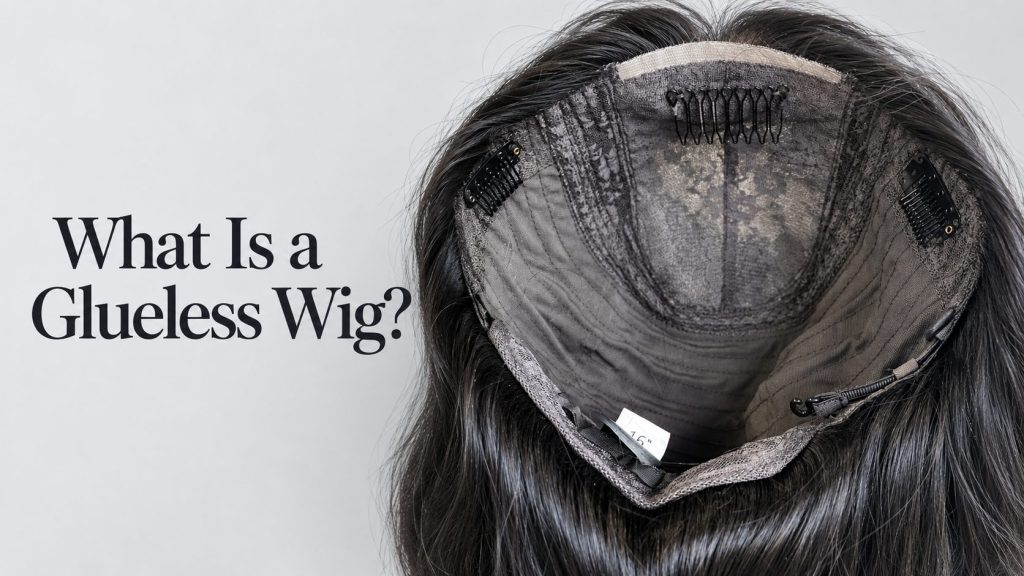
If you are new to wigs, you may have come across the term glueless wig and wondered how a wig can stay in place without glue. The answer is simpler than it sounds: a glueless wig is designed around the fit and constructi...
European human hair wigs are among the more premium options available in Australia, but there is no single price that applies to every wig. Length, hair quality, density, lace construction, cap design, colour and customi...