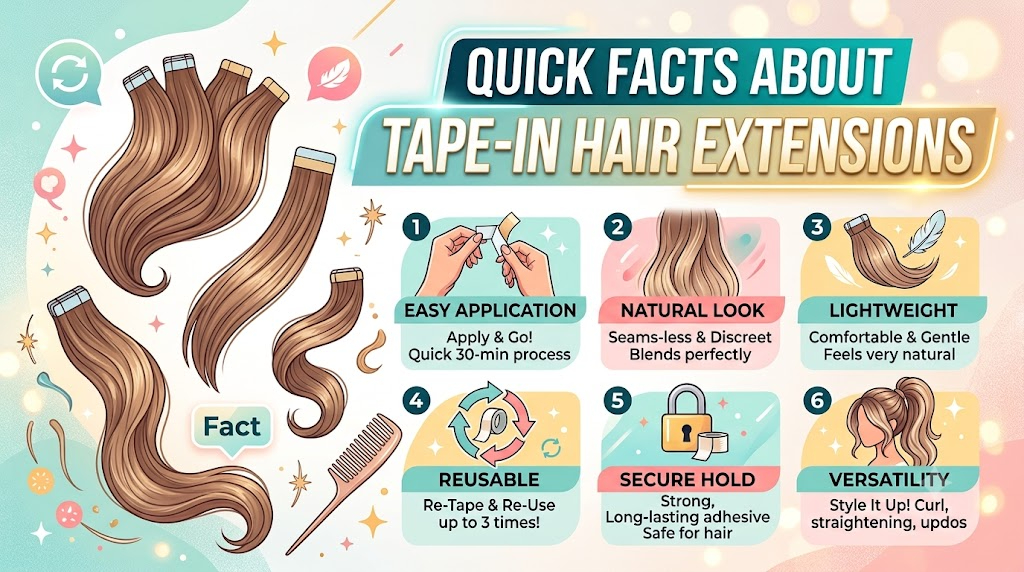
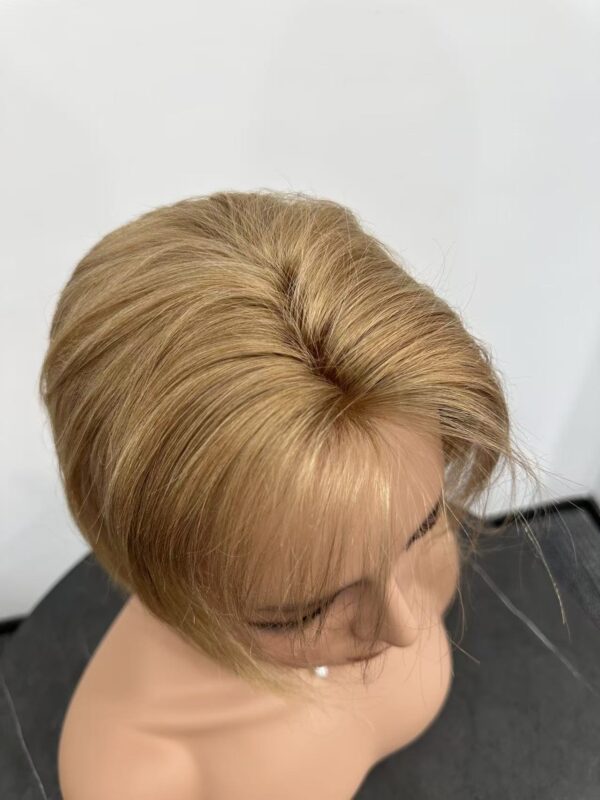
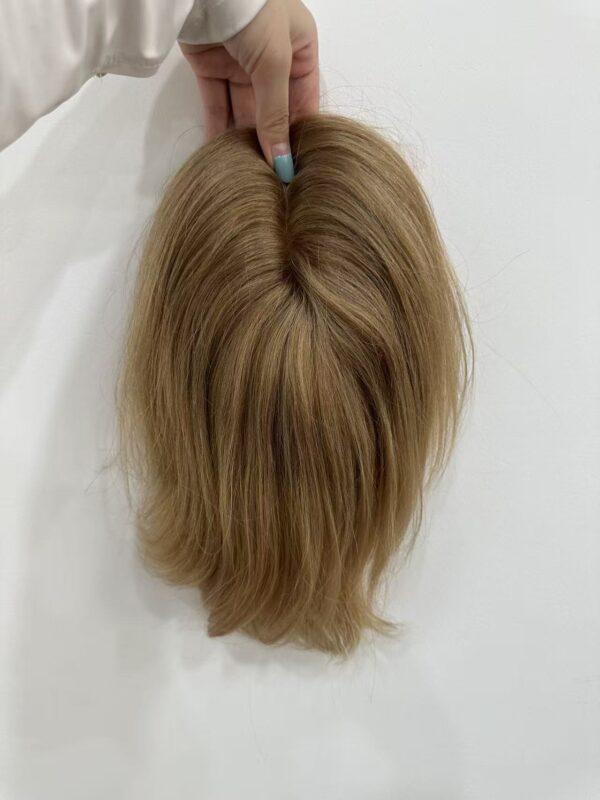
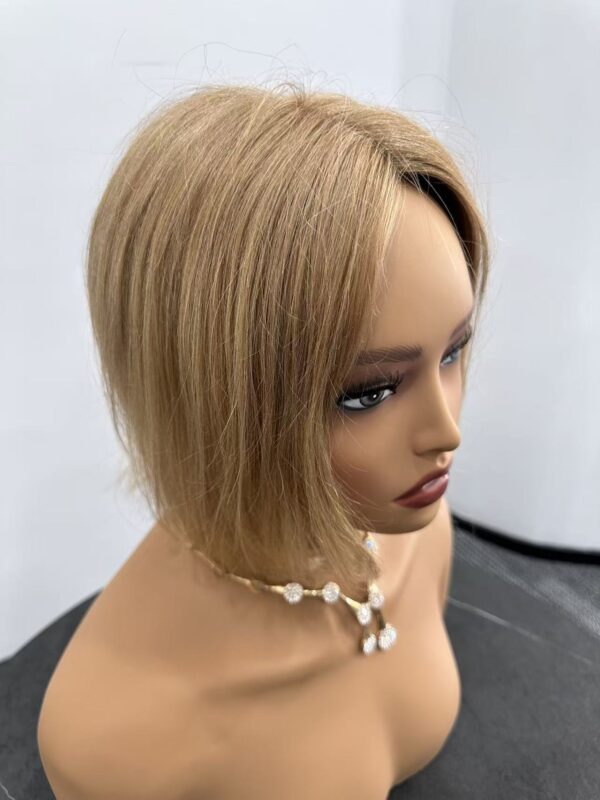
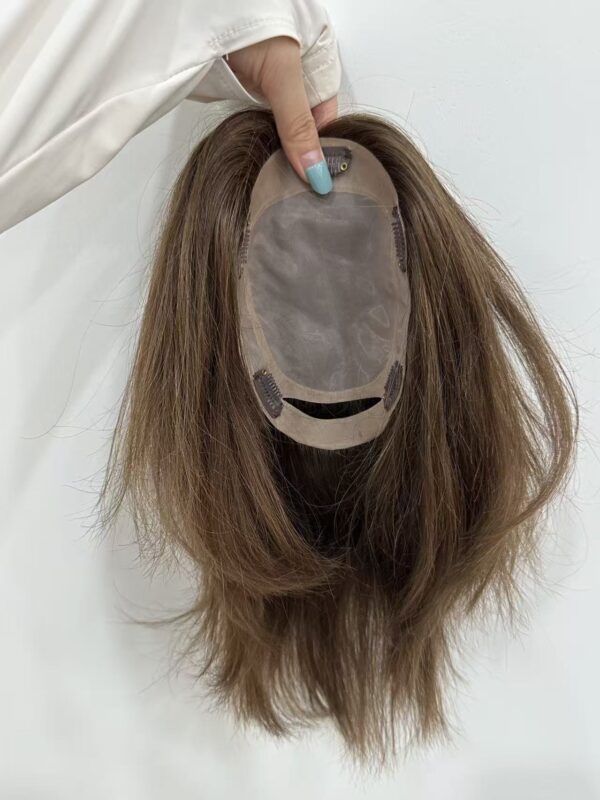
Want to upgrade your hair length and volume from the comfort of your own home? Tape-in extensions are the easiest and most discreet method for DIY lovers across Australia. They lay completely flat against your head and, when handled correctly, keep your natural hair perfectly healthy.
You don't need a salon appointment to achieve flawless results. With a little patience, a mirror, or a friend to help with the back of your head, you can master both the application and damage-free removal yourself.
The DIY Preparation Checklist
1. Prep with a Clarifying Wash
Before installing, wash your natural hair 2 to 3 times with a deep-cleansing clarifying shampoo. Do not apply any conditioners, leave-in serums, or oils to your roots. The natural hair must be 100% clean and bone dry; residual oils will cause the tape bonds to slide right out.
2. Get the "See-Through" Section Right
The thickness of the natural hair you slice for your tape "sandwich" is the secret to success. If the section is too thick, the tape tabs won't seal together and water will leak inside when you shower. If it's too thin, it won't hold the weight safely. Aim for a neat, thin layer where you can faintly see the tape tab underneath.
3. Map Out Your Safety Zone
Always stay 1.5cm to 2cm away from your natural hairline, ears, and the nape of your neck. Keeping the extensions inside this safety zone means they stay perfectly hidden when you put your hair up in a high ponytail or bun.
Your 5-Step "Sandwich" Method
-
1
Part with Precision
Use a metal rat-tail comb to create a straight, clean horizontal line across your hair. Clip all the top hair securely out of your way.
-
2
Place the Under-Weft
Peel the backing off your first tape tab. Place it sticky-side up, exactly 1mm to 2mm below your parting line. Do not stick it directly onto your scalp—leaving this tiny gap ensures the extension can move comfortably without pulling your roots.
-
3
Isolate and Smooth
Gently guide your thin, isolated section of natural hair down so it rests neatly on top of the sticky tape. Use the back of your comb to flatten it smoothly onto the bond.
-
4
Seal the Sandwich
Take your second tape tab, remove the backing, and press it directly on top of the first piece. Line up the edges perfectly so no exposed sticky glue is left over to catch or tangle random hairs.
-
5
Lock it with Pressure
Use an extension plier (or press very firmly with your fingers along the bond) for 2 to 3 seconds. This squeezes out any hidden air bubbles and locks the tape tabs together securely.
🔒 Essential At-Home Golden Rule:
Do not wash or get your hair wet for at least 48 hours after application to let the tape fully cure. When you do wash your hair later, keep your favorite conditioners and hair oils strictly on the mid-lengths and ends—never on your roots!
Safe, Painless Home Removal
Your tape-ins will need a refit every 6 to 8 weeks as your natural hair grows out. To protect your hair strands, never pull them apart dry. Follow this easy, non-damaging sequence:
-
1
Saturate the Bonds
Spray a professional citrus-based or alcohol-based tape extension remover directly into the middle of the sandwiched tabs. Let the solution sit for 45 to 60 seconds to break down the sticky glue.
-
2
Gently Separate
Slide the pin end of your rat-tail comb smoothly between the two tabs. If you feel any resistance, stop immediately. Spray a little more remover, wait another 30 seconds, and let the chemistry do the work.
-
3
Slide Them Off
Once the adhesive breaks down, hold your natural roots firmly with one hand and gently slide the extension panels downwards and off your hair.
Clearing Up Sticky Residue
The Fine-Tooth Comb Trick
If there is any leftover sticky residue in your hair, spray a light mist of remover on the spot. Take a fine-toothed comb, slowly brush through the strands from root to tip, and wipe the sticky buildup onto a clean tissue as you go.
The Dry-Hair Conditioner Hack 🤫
Here is an amazing trick: do not jump straight into a wet shower if your hair feels sticky, as water can make the residual glue tacky again. Instead, while your hair is still completely dry, coat the sticky areas with plenty of standard hair conditioner or hair oil. Massage it through to melt the residue, then give your hair a good wash with shampoo.
Prepping for Your Next Refit
High-quality Remy human hair extensions can be reused multiple times! Once you have removed the old wefts, clean off any old adhesive from the tabs, wash them well with shampoo, blow-dry them completely, and apply fresh double-sided replacement tape tabs. They are ready to go again!