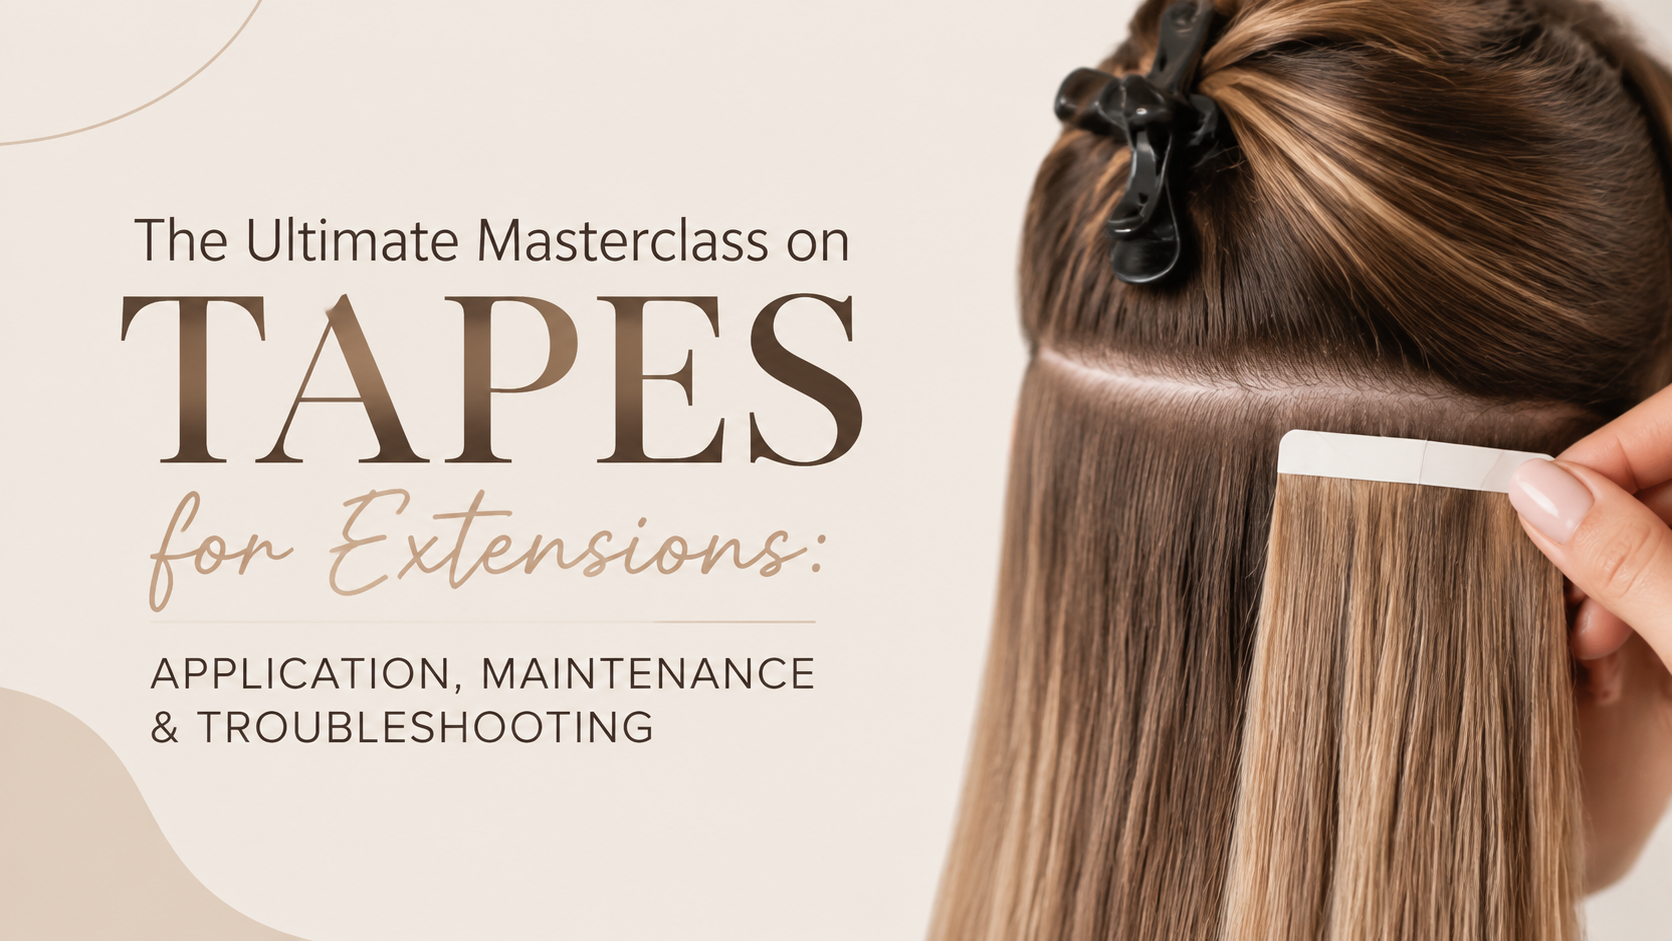
The Ultimate Masterclass on Tapes for Extensions: Application, Maintenance & Troubleshooting
Getting tape-in extensions to lay completely flat and hold securely comes down to precision. If you are setting up new **cool hair pieces** or doing a standard maintenance touch-up at home, understanding how the adhesive interacts with your hair structure is essential. The secret to an invisible, long-lasting finish relies heavily on choosing professional-grade **tapes for extensions** and executing a clean installation process.
Many hair lovers across Australia prefer handling their own maintenance to save time and salon costs. By using high-quality **hair extension tape** and following strict procedural steps, you can achieve a secure, comfortable hold that keeps your natural hair completely safe from tension and damage.
Precise alignment and high-grade adhesive are the foundation of invisible, secure tape-in extensions.
Ready to Upgrade Your Look?
Explore our premium selection of medical-grade tape tabs and professional hair solutions designed for flawless everyday wear.
1. Comprehensive Checklist: Tools and Pre-Installation Preparation
Before you even touch your **hair extension tape**, success depends heavily on having the right professional toolkit and setting up a pristine environment. Skipping preparation steps is the leading cause of premature sliding or lifting.
Essential Tool Arsenal
High-Quality Hair Extension Tape: Medical-grade, hypoallergenic double-sided adhesive strips designed specifically for polyurethane (PU) skin-weft extensions.
Metal Pintail Comb: Crucial for clean, ultra-straight partings and precise sectioning.
Alligator Sectioning Clips: To keep heavy hair out of your work zone safely.
Medical Alcohol Pads or Specialized Remover Spray: Essential for stripping away stubborn old residue, grease, and styling products.
Digital Low-Heat Flat Iron: Optional, used to gently seal and accelerate adhesive curing after sandwiching.
The Golden Prep Rule: Always clarify your natural hair with a deep-cleansing shampoo prior to application. Never use heavy conditioners, deep-mask treatments, or organic hair oils anywhere near your roots or scalp. Any residual sebum or product film acts as a barrier, preventing the medical-grade adhesive from bonding securely to your hair cuticles.
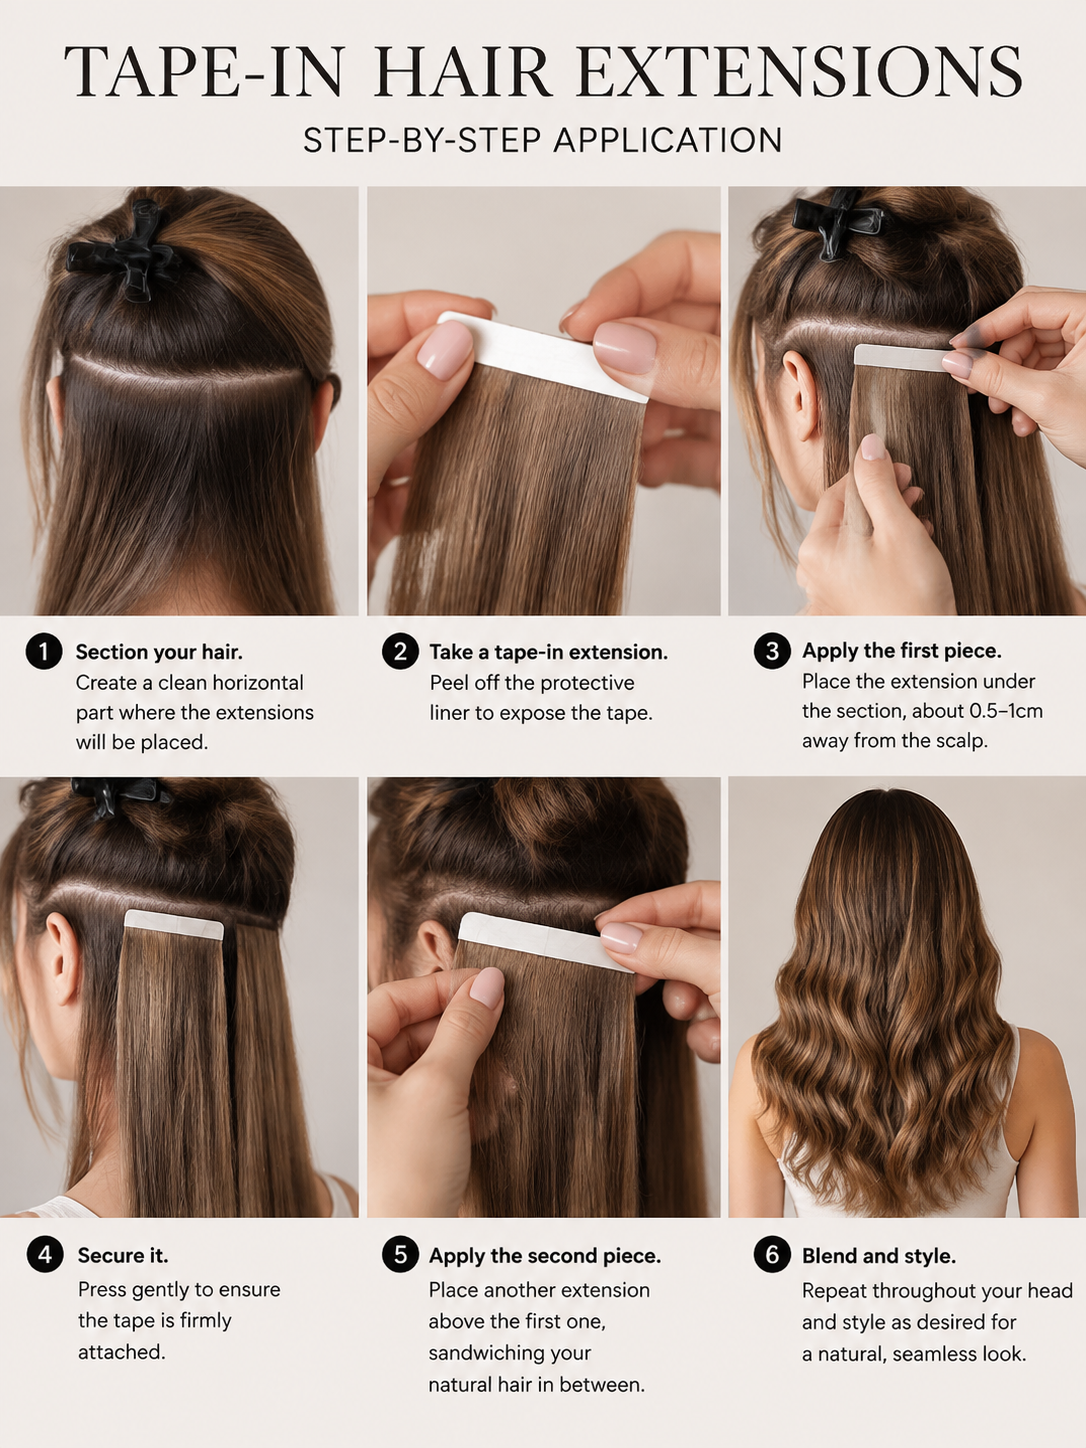
2. Step-by-Step Installation Guide: The Sandwich Method
Executing an installation requires meticulous patience. Follow this step-by-step roadmap to ensure your **hair tape** holds firmly and comfortably for weeks.
Step One: Cleaning and Re-taping Old Wefts
If you are working with previously worn wefts rather than brand-new ones, lay them flat and apply a dedicated extension removal spray to break down the old glue. Use a fine-toothed tool or your fingers to gently roll off the old adhesive strip. Next, wipe down the polyurethane base meticulously with an alcohol pad to clear away microscopic grease layers. Let the wefts air-dry completely before applying fresh **tapes for extensions**.
Step Two: Clean and Precise Sectioning
Using your pintail comb, section off a very thin, horizontal slice of your natural hair. The thickness of this section should be roughly 1 to 2 millimeters—thin enough that you can vaguely see your comb through it, yet dense enough to provide a sturdy base. Clip the remainder of your hair upward to keep your workspace clear and untangled.
Step Three: The "Sandwich" Assembly Technique
Peel the protective backing off a pre-taped weft. Position this first piece directly underneath your thin natural hair section. Ensure you leave a **2 to 3 millimeter safety buffer** between the tape edge and your scalp skin; placing it directly flush against the skin will cause painful tension, pulling, and potential inflammation. Take your second weft, peel its backing, and press it precisely from above, matching edges with the bottom piece. Your natural hair is now tightly secured in the middle like a professional sandwich.
Step Four: Pressure Activation and Sealing
Press down firmly across the entire length of the taped bond using your fingers for at least 5 to 10 seconds. To maximize durability against varying weather conditions, run a flat iron set to a low, warm temperature across the sealed tab for just 1 to 2 seconds. This gentle heat activates the polymer matrix in the adhesive for an instant, watertight grip.
Proper aftercare habits guarantee that your hair enhancements remain smooth, tangle-free, and natural-looking.
3. Long-Term Maintenance and Daily Aftercare Protocols
How you treat your hair daily dictates how long your installation will survive before requiring a readjustment. Incorporate these non-negotiable routines:
The 48-Hour Curing Window: Never wash your hair, swim in chlorinated or salt water, or engage in high-intensity workouts that cause heavy sweating during the first 48 hours post-installation. The adhesive needs this quiet window to fully cure and achieve maximum bond strength.
Strategic Washing and Conditioning: Always opt for sulfate-free, gentle shampoos. When applying conditioners, detangling milks, or nourishing hair masks, restrict product application strictly from the mid-lengths down to your tips. Never let heavy lotions or oils touch the adhesive tape lines.
Nighttime Protection Habits: Never sleep with wet or damp hair, as friction during sleep causes severe matting around the bonds. Always brush your locks thoroughly before bed and loosely braid your hair or secure it into a soft low ponytail.
4. Troubleshooting and Frequently Asked Questions (FAQ)
Q1: Is a tight or pulling sensation normal immediately after application?
A: A mild, dull sensation of tightness is entirely normal during the first 24 to 48 hours as your scalp adjusts to the added weight—similar to wearing a fresh, high ponytail. However, if you experience sharp, localized pain, skin redness, or blistering, it indicates that the wefts were installed too close to the scalp skin or that too much hair was trapped in the sandwich. Re-adjust those specific pieces immediately.
Q2: Why did my tape-in extensions slide out or fall off prematurely?
A: Premature slippage almost always points to one of three common errors: residual conditioner or natural skin oils left on the hair during the initial prep phase, washing the hair before the mandatory 48-hour curing window had elapsed, or grabbing a natural hair section that was too thick, preventing the two adhesive layers from fusing together properly.
Q3: How often do I need to schedule routine maintenance or re-taping?
A: As your natural hair grows out day by day, the taped wefts naturally migrate downward away from the scalp. To prevent tangling at the root bed and maintain a seamless look, we recommend visiting a professional salon or performing home maintenance every 6 to 8 weeks to remove, clean, and re-tape your favorite **cool hair pieces**.
Q4: What is the safest way to remove tape-in extensions without damaging hair?
A: Never attempt to forcefully yank, tear, or pull dry tape-ins out of your hair, as this will rip out your natural strands. Generously saturate the adhesive bond with a professional alcohol-based extension remover spray or medical-grade isopropyl alcohol. Wait 1 to 2 minutes for the liquid to completely break down the polymer glue, after which the wefts will effortlessly slide off downward in the direction of hair growth.
Need Help Finding the Right Supplies?
Our experts are always here to help you select the ideal tape size, strength, and color matching for your next install.
Navigating the world of hair enhancements becomes second nature once you understand the technical details. If you ever need personalized advice on selecting the right products or want troubleshooting tips tailored to your specific hair type, reach out to us anytime!
About Lisa
15 years of experience in the wig industry
Extensive experience in human hair wigs, wig construction, fit, hair quality and styling. Dedicated to helping women find natural-looking hair that feels comfortable and truly suits them.
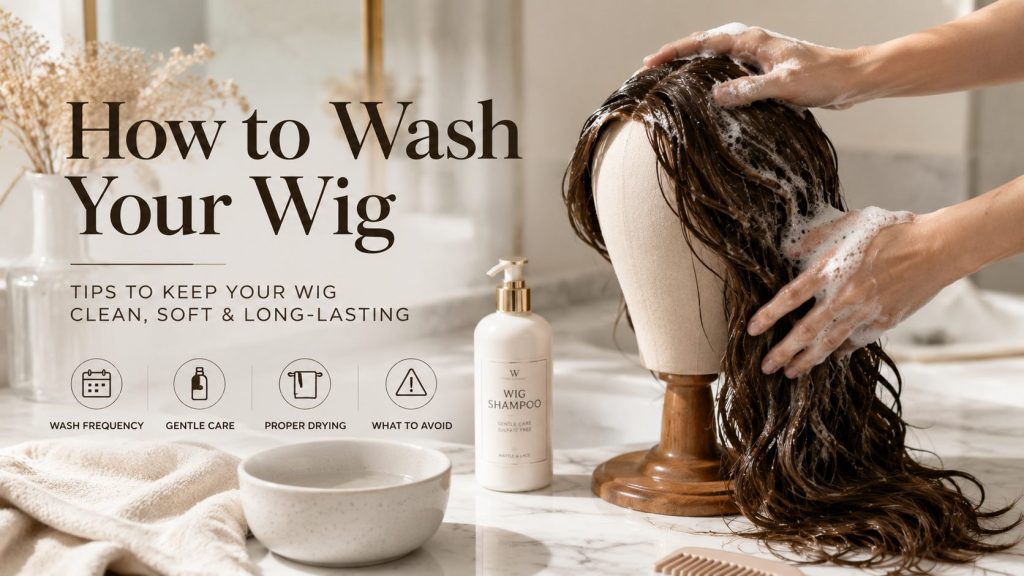
HOW TO WASH YOUR HUMAN HAIR WIG
Keep your wig soft, smooth and beautiful with the right care routine.A gentle step-by-step guide to cleaning and caring for vour human hair wig.
WHAT YOU’LL NEED
...
Discover how to choose the right hair topper for thinning hair, from base size and secure attachment to natural hairlines, colour matching and everyday care.
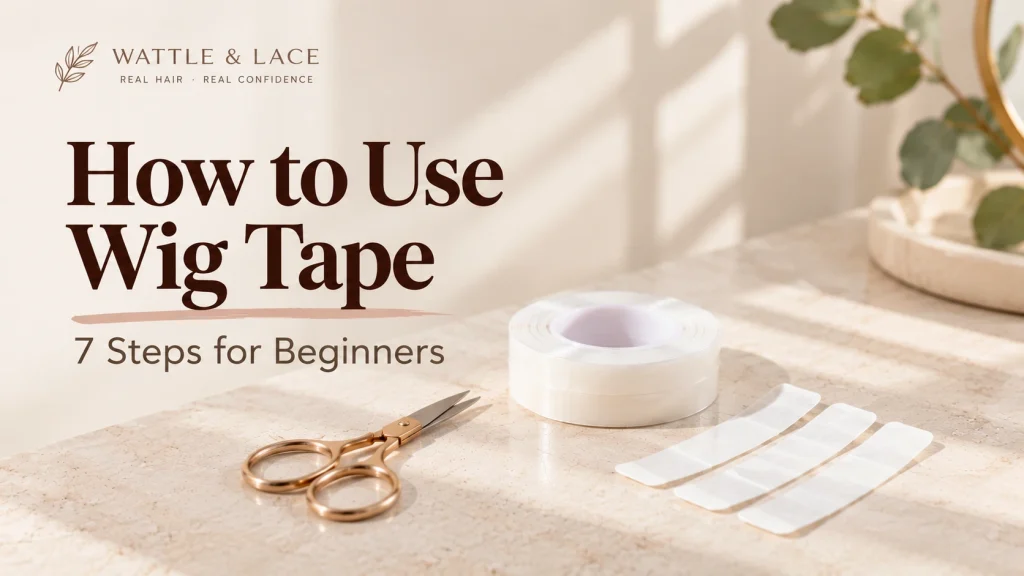
Using wig tape for the first time can feel fiddly. The strips are small, the lace needs to sit in exactly the right place, and once the tape touches your skin, repositioning can be difficult.
...
European Remy human hair is human hair described as originating from Europe, with the strands arranged so their cuticles face the same direction. The term combines two distinct descriptions: European refers to the stated...
What Is a Human Hair Wig?
Image source:European Human Hair Wig-Teagan wig
A human hair wig is made from real human hair, giving it the natural movement, texture and light reflection...
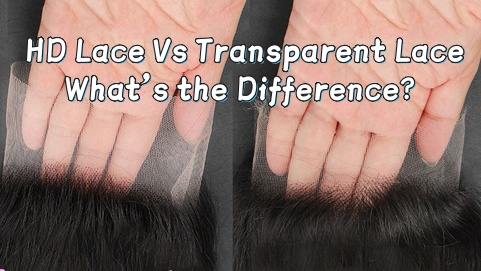
If you're shopping for a womens wig, you've probably seen HD lace and transparent lace listed as two different options. They can look almost identical in a product photo, which makes the choice a little confusing.
...
If you’ve been scrolling through dozens of tabs trying to figure out where to buy a decent piece of alternative hair, I get it. It’s overwhelming. Between dodgy overseas websites, glossy social media...
A beautiful wig should never look like you’re wearing a wig. The right colour, texture, density and fit can make all the difference to how natural and confident you feel. If you’re wondering how to choose a European huma...
WIG GUIDE
Choosing between a glueless wig and an lace glue for wigs comes down to more than how the wig stays on. Comfort, security, hairline appearance and your everyday routine all play a part.
If you prefer a wi...
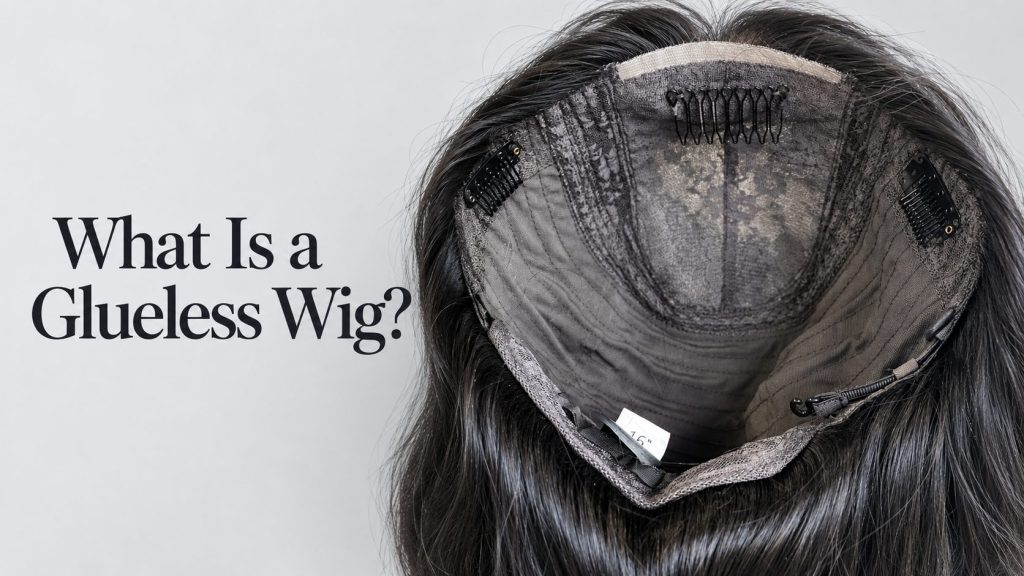
If you are new to wigs, you may have come across the term glueless wig and wondered how a wig can stay in place without glue. The answer is simpler than it sounds: a glueless wig is designed around the fit and constructi...
European human hair wigs are among the more premium options available in Australia, but there is no single price that applies to every wig. Length, hair quality, density, lace construction, cap design, colour and customi...